Blog
How to Use Raspberry Pi as a Chromecast Alternative

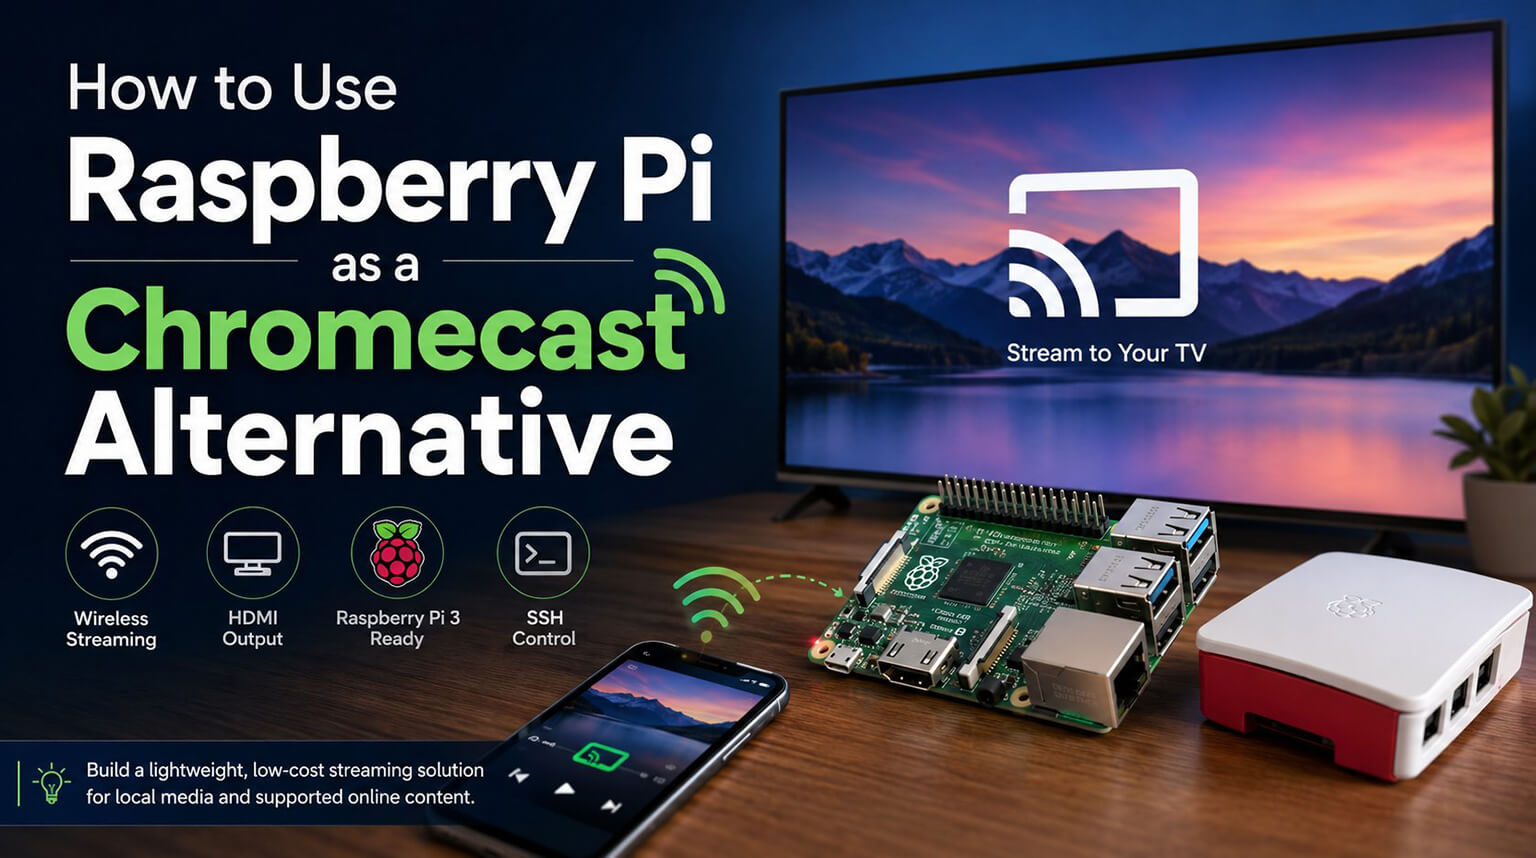
By using a Raspberry Pi 3B and Raspicast, you can create a lightweight wireless media receiver that works in a way that is somewhat similar to Chromecast. However, it is important to understand the limitation from the beginning: this is not a full Chromecast replacement. It does not implement the complete Google Cast protocol, and it will not provide the same app-level compatibility as a commercial Chromecast device.
In this setup, an Android device, usually a mobile phone, sends media links or local files to the Raspberry Pi. The Raspberry Pi then handles playback and outputs the content to a TV through HDMI. Depending on the media type and software used, older OMX-based tools such as OMXPlayer or omxiv may be involved in playback or image display.
We will complete the project in phases, including hardware setup, operating system installation, software installation or compilation, network configuration, and Raspicast setup. Each phase depends on the previous one, so it is best to complete the steps in order.
Step 1: Setting Up the Hardware
The following hardware is required for this project:
- Raspberry Pi 3 Model B
- microSD card, 16 GB minimum
- Reliable 5V/2.5A micro-USB power supply
- HDMI cable
- Raspberry Pi case
- Optional heatsinks for the main SoC and other heat-generating chips
- USB wireless keyboard and mouse combo
- SD card reader for writing the operating system image
The Raspberry Pi 3 Model B has built-in Wi-Fi, so no USB Wi-Fi adapter is required. If you are using an older Raspberry Pi model without onboard Wi-Fi, you can either connect it by Ethernet or add a compatible USB Wi-Fi adapter.
Be sure to use a stable 5V/2.5A power supply. A weak phone charger or poor-quality cable may cause undervoltage warnings, random reboots, USB instability, or playback issues, especially when peripherals are connected.
Step 2: Write Raspberry Pi OS to the SD Card
Download the Raspberry Pi OS desktop image from raspberrypi.com. If you download a compressed .zip file, extract it first to get the .img file.
Flash Using Etcher
Download balenaEtcher from balena.io and launch it.
Click Flash from file, then select the .img file. Click Select target and choose your SD card. Make sure you have selected the correct SD card, because the flashing process will erase the selected drive.
After confirming the correct target, click Flash. When the process is complete, safely eject the SD card.
On Linux
As an alternative, you can write the image from the command line:
sudo dd if=raspbian.img of=/dev/sdX bs=4M status=progress conv=fsync
In this command, replace /dev/sdX with the actual device name of your SD card.
Be careful with this command. If you choose the wrong device, you may overwrite another drive on your computer. You can use the following command to check your disk list before writing the image:
lsblk
Step 3: Assembling the Hardware
Open the Raspberry Pi case according to your case design. If you are using heatsinks, remove the adhesive backing and press each heatsink firmly onto the correct chip for about ten seconds.
The largest heatsink usually goes on the main SoC. Smaller heatsinks may be placed on other heat-generating chips, depending on the heatsink kit and board layout. Do not add thermal paste if the heatsinks already have pre-applied thermal adhesive.
Place the Raspberry Pi inside the case by aligning the USB, HDMI, and power ports with the case openings. If your case has removable side panels, you may want to leave the case partially open during initial testing so that troubleshooting is easier.
Step 4: Boot, Network Connection, and SSH Configuration
Insert the SD card into the Raspberry Pi. Connect a keyboard, mouse, HDMI display, and the micro-USB power supply.
Power on the Pi and wait until the Raspberry Pi OS desktop loads. During boot, the green activity LED may blink as the system reads from the SD card.
Click the Wi-Fi icon in the upper-right corner, select your Wi-Fi network, and enter the password to connect the Raspberry Pi to the internet.
Next, open the Terminal application and run:
sudo raspi-config
Go to:
Interface Options → SSH → Enable
Then exit raspi-config.
SSH allows you to control the Raspberry Pi remotely without using a keyboard or mouse. If SSH is enabled, change the default password or use the username and password you configured during Raspberry Pi OS setup, especially if the Pi is connected to a shared network.
To check the Raspberry Pi’s IP address, run:
hostname -I
Write down the IP address. You will need it later when configuring Raspicast on your Android phone.
Step 5: Update Packages and Install Dependencies
Open the terminal and run:
sudo apt-get update
This refreshes the package repository list.
Then run:
sudo apt-get upgrade
This will download and install available package updates. On a fresh Raspberry Pi OS installation, this may take several minutes depending on your internet connection and SD card speed.
After the upgrade finishes, install the required development libraries:
sudo apt-get install libjpeg8-dev libpng-dev git make
These development header files are needed for building image-related tools such as omxiv. If you are using an older legacy system or following an older omxiv build guide, you may see libpng12-dev mentioned instead, but on newer systems libpng-dev is usually the safer package name.
Accept the installation when prompted.
Step 6: Compile omxiv from Source
Some Raspicast setups use omxiv for displaying images on the Raspberry Pi. If your Raspicast build requires omxiv, you may need to build it from source.
Open a terminal window on the Raspberry Pi and run:
git clone https://github.com/HaarigerHarald/omxiv
This downloads the omxiv source files into a directory called omxiv.
Next, change into that directory:
cd omxiv
Then compile the project:
make -j4
The -j4 flag allows the build process to use four parallel jobs, which is suitable for the Raspberry Pi 3’s quad-core CPU.
After compilation is complete, install it:
sudo make install
This installs omxiv into the system path.
To confirm the installation, run:
which omxiv
If the command returns a path such as:
/usr/bin/omxiv
then the installation was successful.
If compilation fails, check for missing dependencies and review the output error messages before returning to Step 5.
Step 7: Configure Raspicast on the Android Phone
First, make sure your Android phone and Raspberry Pi are connected to the same Wi-Fi network.
On the Raspberry Pi, check the current IP address:
hostname -I
Then install Raspicast on your Android device from the Google Play Store.
After installation, open Raspicast. Tap the three-dot menu icon, go to Settings, and enter the following values:
					IP address: Use the Raspberry Pi IP address, such as 192.168.1.50
Username: Use the username configured on your Raspberry Pi
Password: Use the password configured on your Raspberry Pi
Port: 22
After entering these values, tap Save. Raspicast will try to establish an SSH connection to the Raspberry Pi. If the connection is successful, the app will return to the Raspicast home screen.
If Raspicast fails to connect, check the following:
- The IP address is correct.
- SSH is enabled on the Raspberry Pi.
- The Android phone and Raspberry Pi are on the same Wi-Fi network.
- The username and password are correct.
- Port 22 is not blocked by your network.
Step 8: Cast Content to Your TV
YouTube
To use Raspicast with supported video links, open the YouTube app or another supported app on your smartphone. Play a video, tap Share, and select Raspicast.
The video link will be sent to the Raspberry Pi. If the current Raspicast setup and playback tools support the link, the Raspberry Pi will attempt to play the content and output it to your TV through HDMI.
You can lock your phone or switch apps after playback starts. In this setup, the phone mainly sends the playback request or media link; it is not continuously rendering the video itself.
Local Files
To cast local files such as movies, music, or other media files, open Raspicast and navigate to your media directory.
Select a supported file, such as an MP4 video, and Raspicast will send it to the Raspberry Pi for playback. Actual playback support depends on the file format, codec, and media player installed on the Raspberry Pi.
Images
To cast images, navigate to your picture directory in Raspicast and select a JPG or PNG image. The image will be sent to the Raspberry Pi and displayed on the TV.
Important Notes
Playback quality depends on the media source, network stability, codec support, and the player used on the Raspberry Pi. YouTube or web video support may vary because streaming platforms often change their delivery methods.
The Raspberry Pi 3 can handle many 1080p playback tasks, but performance depends on the codec and software environment. If playback freezes or stutters, check the Wi-Fi connection, power supply, video format, software compatibility, and Raspberry Pi temperature.
Raspicast does not provide system-wide casting in the same way as Chromecast. Streaming apps such as Netflix, Hulu, Disney+, and other DRM-protected services usually cannot be cast through Raspicast in the same way.
There may be a short delay between sending a playback request from the phone and seeing the video start on the TV. This delay depends on network speed, link resolution, buffering, and player startup time.
Your phone’s battery usage should be relatively low after playback starts, because the phone is mainly sending commands or media links rather than continuously processing or transcoding the video.
Final Thoughts
By using Raspicast, you can turn a Raspberry Pi into a lightweight media receiver for selected casting workflows. The Raspberry Pi accepts SSH-based requests from your Android phone, receives media links or files, and outputs the content to a TV through HDMI.
This setup is not an exact copy of Chromecast, and it should not be treated as a full replacement for Google Cast. However, it is useful for local media playback, selected shared links, and learning how Raspberry Pi hardware, networking, SSH, and media playback tools work together.
The skills developed during this project, including working with Linux commands, building software from source, configuring SSH, and setting up Raspberry Pi hardware, are transferable to many future embedded Linux and media-related projects.
Frequently Asked Questions (FAQ)
A: Not always. It depends on the manufacturer, the specific project, and customer requirements. For projects with higher reliability demands, such as medical and automotive electronics, AOI is typically performed on every board.
A: Yes. For projects with special quality requirements, PCBCool can follow customer-defined inspection priorities, acceptance criteria, tolerance ranges, or specific defect control requirements.

Abraash Vnest works on defense-related electronic projects, with a focus on schematic development, circuit troubleshooting, testing, and technical documentation. He also develops STM32 firmware and implements industrial communication protocols such as CAN.