You might think that cleaning a PCB isn’t something you need to worry about—but in fact, it can make a big difference in the lifespan and performance of your electronics. Over time, dust and debris can accumulate on a board, potentially causing overheating and even damaging sensitive components, especially in high-power or precision devices.
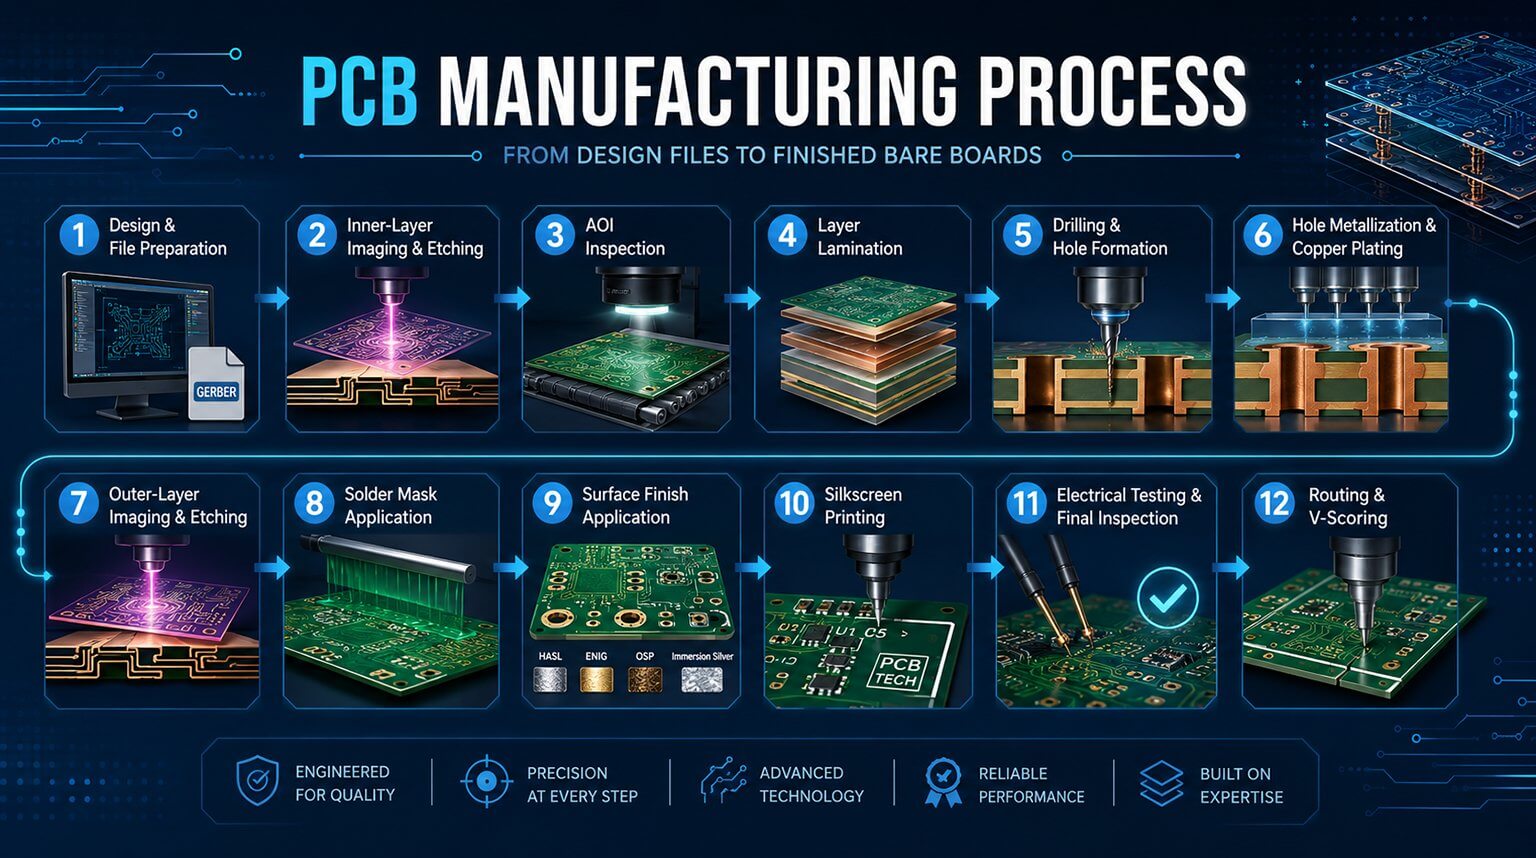
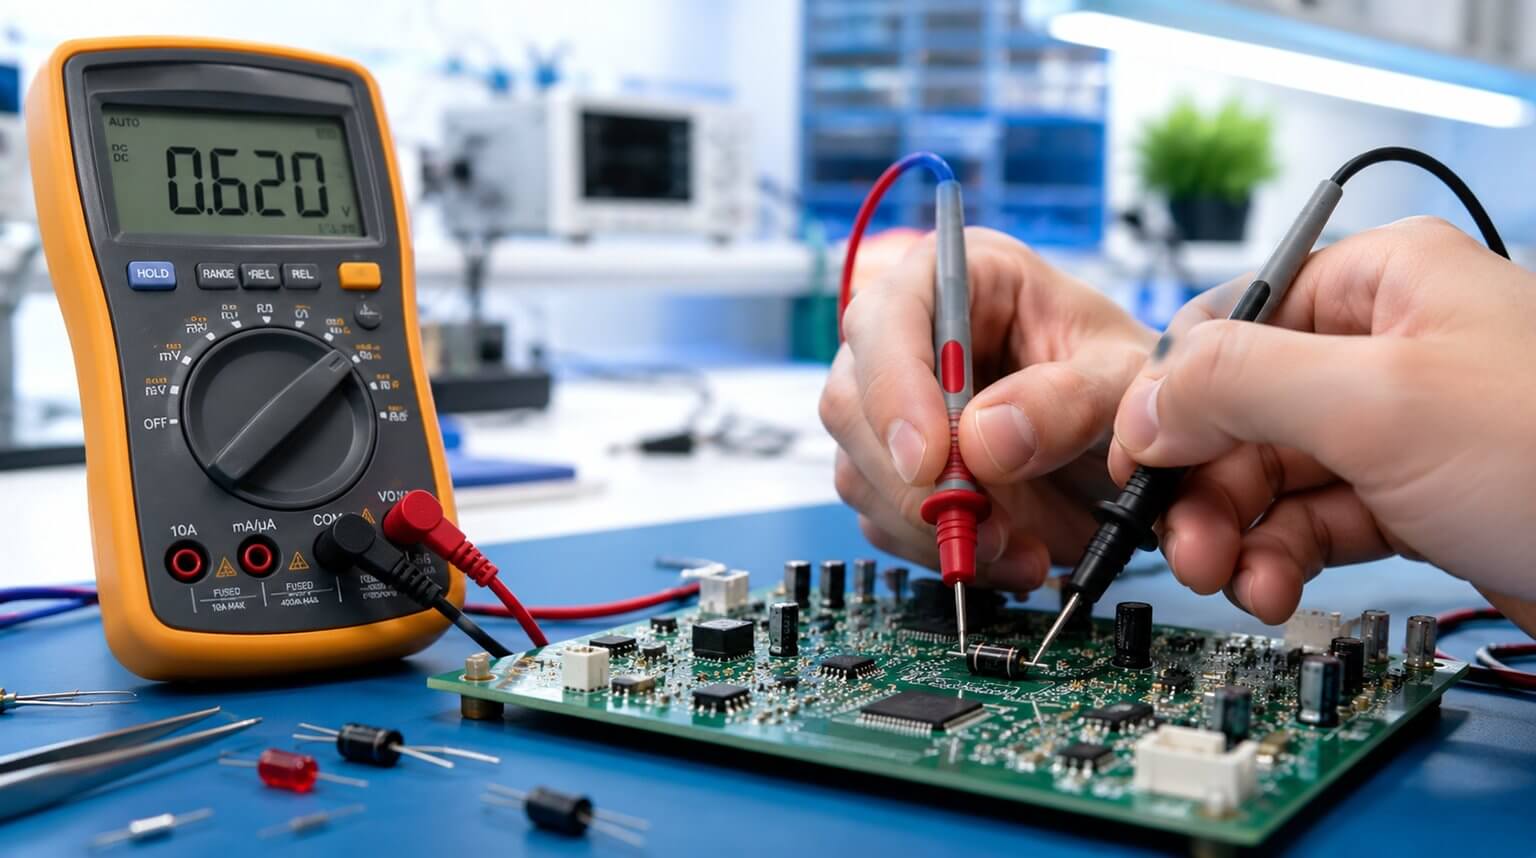
For commercial production, PCB cleaning is straightforward: boards can be placed in professional cleaning machines to remove residues quickly and effectively. The image below shows the type of equipment PCBCool uses during manufacturing:
[Image]
For hobbyists or individuals, owning such equipment isn’t practical. But don’t worry—there are safe and effective ways to clean your PCB at home. In this article, we’ll walk you through the process step by step.
Not every PCB needs to be cleaned, and cleaning won’t fix all problems. Before disassembling your device and removing the board, it’s important to consider whether cleaning is truly necessary. Here are some situations where cleaning can help:
- Device Malfunction: If your device stops working or behaves unpredictably, cleaning the PCB is often one of the first troubleshooting steps to try.
- Exposure to Moisture: Boards exposed to liquids, high humidity, or damp conditions can develop corrosion or short circuits.
- Dust and Dirt Buildup: Devices in dusty environments—such as workshops, industrial areas, or poorly ventilated homes—can accumulate dust on the PCB.
- Solder Flux Residue: After soldering, leftover flux can be corrosive over time.
- Oxidation and Corrosion: Metal components can oxidize when exposed to air or harsh chemicals, which may reduce performance or cause permanent damage if not addressed.
Cleaning your PCB in these situations can help restore functionality, improve performance, and prevent long-term issues.
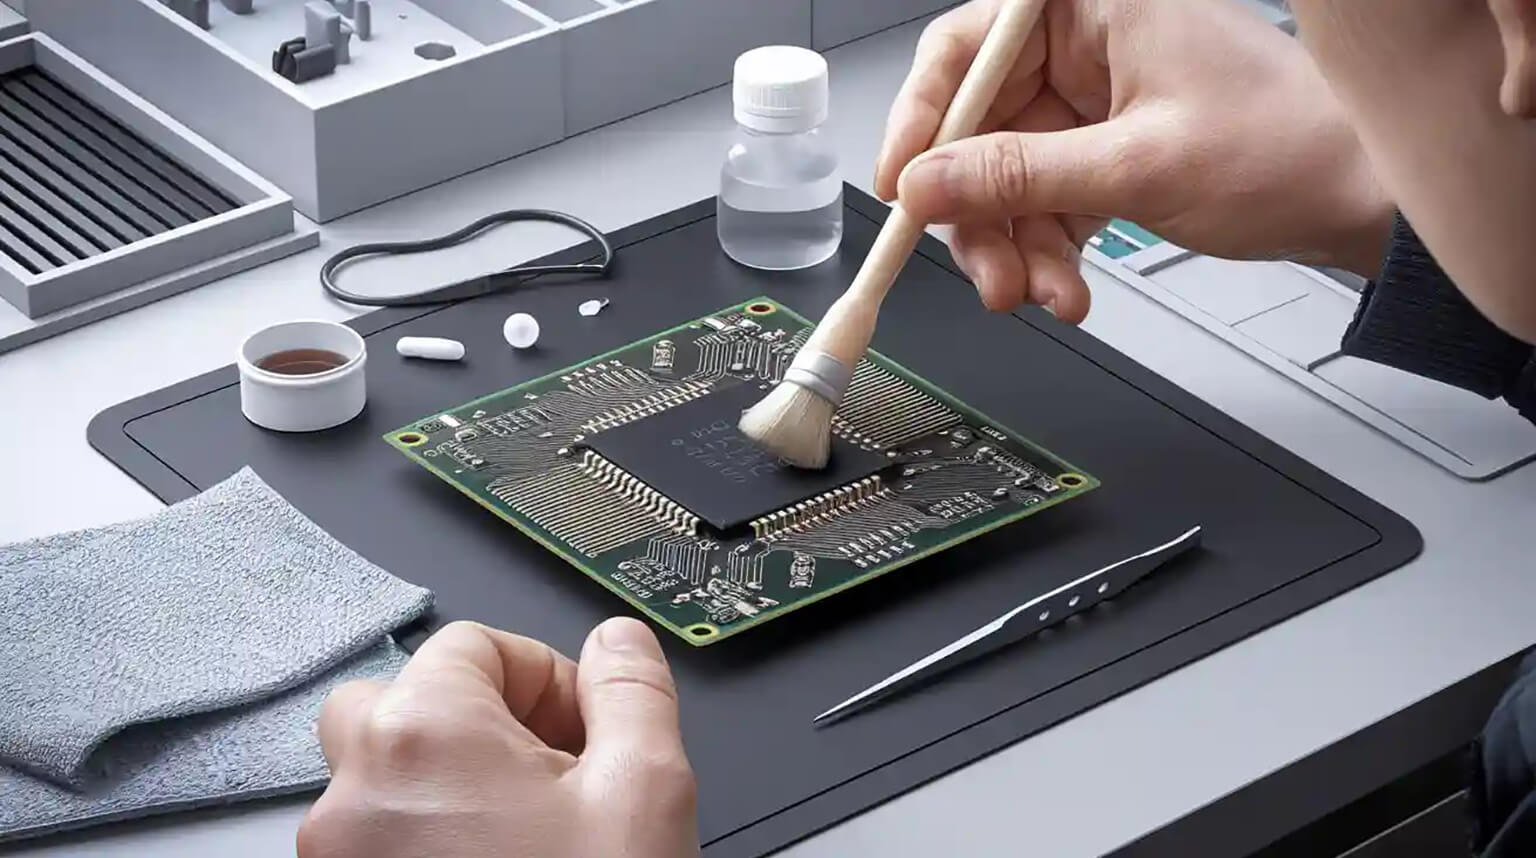
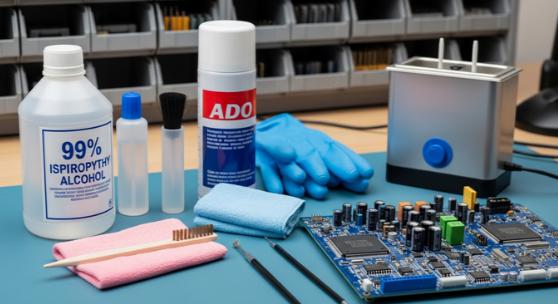
For simple cleaning tasks, a soft-bristled brush may be enough. However, this guide covers a more professional and versatile approach, using tools and materials that are easy to obtain:
- Isopropyl Alcohol (99% or higher): The most common cleaner for PCB. It effectively dissolves grease, flux, and other residues, and evaporates quickly without leaving any trace.
- Soft Brush: Ideal for removing dust from the board surface. Make sure the bristles are soft to avoid damaging components or traces.
- Lint-Free Cloth: Prevents fibers or particles from sticking to the board, avoiding secondary contamination.
- Compressed Air: Useful for blowing away loose dust and debris, especially in hard-to-reach areas.
- Rubber Gloves: Helps prevent oils, dirt, or static from your hands from transferring to the board.
Optional:
- Corrosion Remover: For boards with oxidation or corrosion, a mild acid or specialized remover can help.
- Ultrasonic Cleaner: Uses high-frequency sound waves to clean the board. This is great for heavily soiled PCB or boards with intricate components that are hard to reach manually.
Before doing anything, make sure the device is powered off and unplugged. This prevents electrical accidents and protects sensitive components from power surges during cleaning.
Carefully open the device’s casing using the right tools. Remove screws and other parts gently, taking care not to force anything. Once the housing is open, carefully lift out the PCB. Pay attention to connectors and cables to avoid bending or breaking them.
Before starting the cleaning process, visually inspect the board for dust, dirt, moisture, or signs of corrosion. This helps you identify the areas that need the most attention.
Start by using compressed air to blow away loose dust and debris. Hold the canister upright and use short bursts to prevent moisture from spraying onto the board. Move the nozzle along the surface to reach tight spots and corners.
Dampen a soft, lint-free cloth or brush with isopropyl alcohol (99% or higher). Gently wipe the board, paying special attention to areas with flux residue or grease. For stubborn spots, use a soft brush to clean carefully, taking care not to damage any components.
If using an ultrasonic cleaner, place the PCB in the equipment and ensure it is safe to immerse the board in liquid. Follow the manufacturer’s instructions, and avoid using this method on boards with components that are not water-resistant.
Corrosion and oxidation can be difficult to remove, especially if they have been left untreated for a long time.
First, look for green or brown discoloration around affected areas, often near metal connectors or solder joints.
For corrosion that cannot be brushed away, a mild corrosion remover or a gentle acid, such as vinegar, can be used. Apply it carefully to the affected spots and avoid prolonged contact, which could damage the board or components.
After treating the corrosion, rinse the area with isopropyl alcohol to remove any remaining residue and help the board dry quickly.
After cleaning, make sure the PCB is completely dry. Any remaining moisture can lead to corrosion or short circuits.
Use a dry, lint-free cloth to gently wipe the board, or use compressed air to blow away any leftover moisture. Avoid using high heat, as excessive temperature may damage components or solder joints.
After ensuring the board is completely dry, visually inspect the PCB to confirm that no components or traces were damaged, using a multimeter if available for added certainty.
Once you are confident the board is intact, reassemble the device, power it on, and test its functionality to make sure it operates correctly.
To help reduce the need for frequent cleaning, consider adding some protective measures to your PCB.
Using dust covers can shield the board from accumulating dust, which is especially helpful for devices that are not used regularly.
For added protection, a conformal coating can be applied to the PCB to guard against moisture, dust, and corrosion, extending the lifespan of the board and keeping it in better condition over time.
When cleaning a PCB, a few common mistakes can easily cause more harm than good. One of the most frequent issues is using too much liquid. Excessive moisture can seep into connectors or under components, potentially damaging sensitive parts. Always apply cleaning solutions sparingly and make sure the board is completely dry before powering it on.
Another mistake is using the wrong type of solvent. Harsh chemicals can damage the PCB surface, remove markings, or leave residues that affect performance. It is generally safest to use high-purity isopropyl alcohol or other cleaners specifically designed for electronics.
Applying too much pressure while brushing is also a common problem. Circuit boards contain many small and delicate components, and excessive force can scratch traces or even dislodge tiny parts from the board. Gentle cleaning is usually more effective.
Finally, inadequate drying can lead to moisture being trapped on the board, which may cause corrosion or electrical shorts later. After cleaning, always allow enough time for the PCB to dry completely before reassembling or powering the device.
Keeping your electronics clean can help maintain stable performance and extend the lifespan of your devices, especially in environments where dust, humidity, or contaminants are common. While most PCBs do not require frequent cleaning, addressing visible dirt, flux residue, or moisture when it appears can help prevent potential reliability issues.
However, if a board shows severe corrosion, liquid damage, or involves complex multilayer designs, professional servicing may be the safer option to avoid causing further damage during cleaning.
Although PCBCool does not currently provide PCB cleaning services, you are always welcome to contact us if you have related questions. Our team will be happy to share professional insights and help you evaluate the best solution for your situation.